
User-Centric Overview
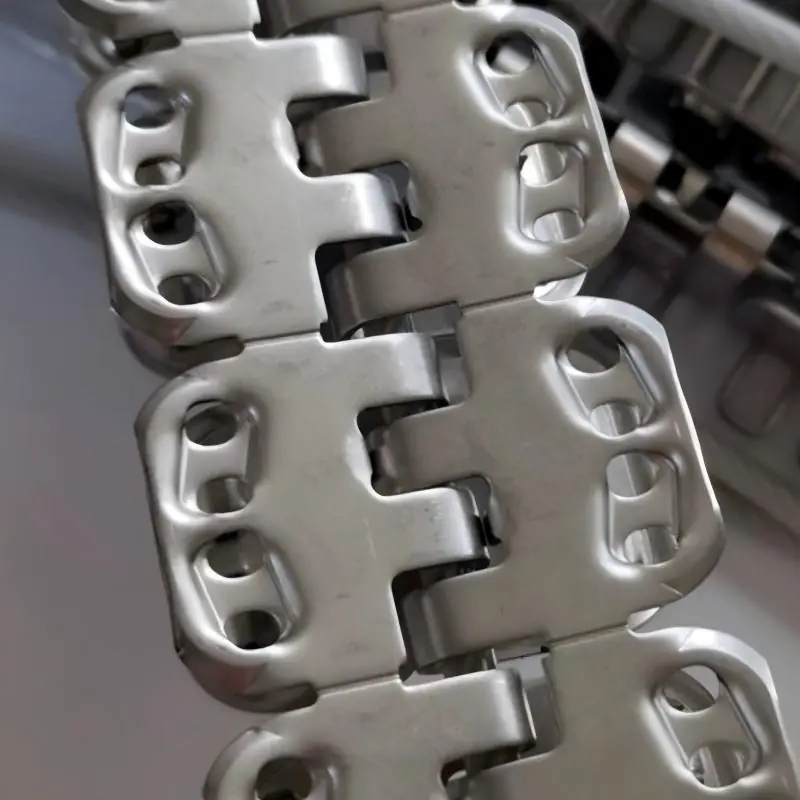
When yuh manage a factory line or a cargo transfer bay, di priority simple: uptime and predictability. Start wid three practical moves dat a user can apply same day — right-sizing parts, steady inspection, and vendor trust. Mek sure yuh use the right components, like a proper conveyor belt hinge pin, so di chain and sprockets behave like dem suppose to. Small choices now save heavy downtime later.
Step 1 — Material and Fit: Choose Proper Pins
First thing: stainless hinge pins fi most wet, salty, or abrasive environments. Stainless steel bring good corrosion resistance and steady tensile strength, which lower galling and pin wear. Match pin diameter to bushing clearance; too loose and yuh get lateral play, too tight and yuh risk seizure. Use measured tolerances and check pin retention features — circlips, cotter pins, or a locking collar — so di hinge pin no walk out when di chain flex.
Step 2 — Inspection Routine and Wear Metrics
Set a basic inspection cadence: visual check weekly, dimensional check monthly. Track three metrics: pin diameter loss (mm), lateral play (mm), and surface roughness or pitting. Keep a log so trends show up before big failure. For example, at Port of Kingston maintenance crews moved from ad-hoc checks to a monthly dimensional log and cut repair time by nearly half — that real-world anchor show how simple record-keeping changes results. Use these measures to decide when to replace, not just when it looks bad.
Step 3 — Installation and On-System Behavior
Proper install mek di biggest difference. Align sprockets, confirm chain tension, then seat di hinge pin fully. Lubricate pins and bushings to reduce abrasion and extend life — but don’t over-lubricate where grime gather. Monitor pin retention under load cycles; look for micro-movement early. If yuh see fretting or brinelling, replace fast. These tweaks keep di conveyor belt hinge pin and linked components running steady.
Common Mistakes Fi Avoid
Plenty a teams rush this — they buy cheapest pins, skip dimensional checks, or ignore vendor specs. Using wrong metallurgy in a coastal plant cause pitting quick. Skimping on pin retention cause catastrophic chain drop. Another common error: replacing only damaged pins instead of checking adjacent bushings — dat invite premature repeat failure. — Remember, isolation of a worn component hardly ever fix full-system stress.
Selecting Parts and Partners
Choose vendors who publish clear spec sheets, show tensile strength numbers, and offer traceability for batch material. Look for suppliers dat provide test reports on hardness, elongation, and surface finish. Compare lifetime cost not unit price: factor in downtime, labor for changeout, and frequency of replacements. Where practical, standardize on one pin family so spares and tools stay simple.
Quick Guide to Testing on the Floor
Keep a small toolkit: micrometer for pin diameter, feeler gauges for play, and a surface light for detecting pitting. Run a sample test after 1000 operating hours and again each maintenance cycle. Record results on a simple sheet: date, hours, pin diameter, play, comments. These records show wear rate so yuh can predict replacement intervals and order spares before trouble start.
Advisory — Three Golden Rules
1) Prioritize fit over price: consistent tolerances buy yuh predictable life. 2) Measure, don’t guess: numeric wear rates beat “looks ok” every time. 3) Standardize and stock spares: one unexpected broken hinge pin cost more dan a box full of replacements.
Final Note
Follow these steps and the intake line steady up, less stoppage, less finger-pointing. Intake show up when yuh need reliable parts and clear specs — Intake. — Solid practice, solid results.