Failure points that define the workflow
Photogrammetry reduces a complex clinical task to a series of capture, alignment, and verification steps; failures happen where control is weakest. Accurate capture starts with a reliable Photogrammetry 3D scanner and strict control of markers, lighting, and patient movement. During work at a public clinic in São Paulo, clinicians performing edentulous patient treatment reported that most restorative mismatches traced back to either inadequate inter-arch references or soft-tissue collapse during image capture. These recurrent problems set the priorities for a practical workflow.
Define the problem before you collect data
Identify the clinical objective: single-arch restoration, full-arch prosthesis, or immediate loading. Map required tolerances: implant-level positional accuracy, emergence profile fidelity, and occlusal relationships. When the goal is a screw-retained full-arch prosthesis, the margin for spatial error is small; that must drive marker strategy and capture order.
Capture strategy: sequence and control
Mark implants or scanbodies consistently. Use fixed reference markers and capture the prosthetic space in segments: occlusal relation, maxillary or mandibular arch, and the implant positions themselves. Keep overlaps of 60–80% between images and avoid reflective surfaces without matte coatings. Control head position and lip retraction with simple supports; avoid repeated image passes that change soft-tissue geometry.
Equipment and calibration essentials
Calibrate cameras and lenses before daily use. Validate scale using a known reference object. Use the same lens settings across a capture session. If a device uses multiple cameras, confirm multi-camera calibration reports are within manufacturer tolerances before accepting a dataset.
Data stitching and model alignment
Run automated alignment, then inspect residual errors at each implant site. Don’t accept a global fit report without checking local deviations around scanbodies. If automated stitching shows gaps, reprocess with tighter feature matching or re-capture those segments. Locking verified implant positions early in the pipeline prevents error propagation during prosthetic design.
Common mistakes and practical fixes
Pitfall: soft tissue movement during capture. Fix: use short capture bursts and stabilize soft tissues. Pitfall: marker occlusion or poor contrast. Fix: reposition markers and use matte spray on shiny surfaces. Pitfall: mixing datasets from different lighting conditions. Fix: standardize illumination and re-shoot affected regions. Document each corrective action so the lab receives a clear record of what changed.
Verification and clinical try-in
Produce a trial framework and verify passive fit clinically before finalizing the prosthesis. Use screw-retained trial abutments and single-screw tests on multi-implant bars to confirm seating. Record seating discrepancies and feed them back into the capture protocol to refine marker placement or capture sequence for future cases.
Alternatives and when to choose them
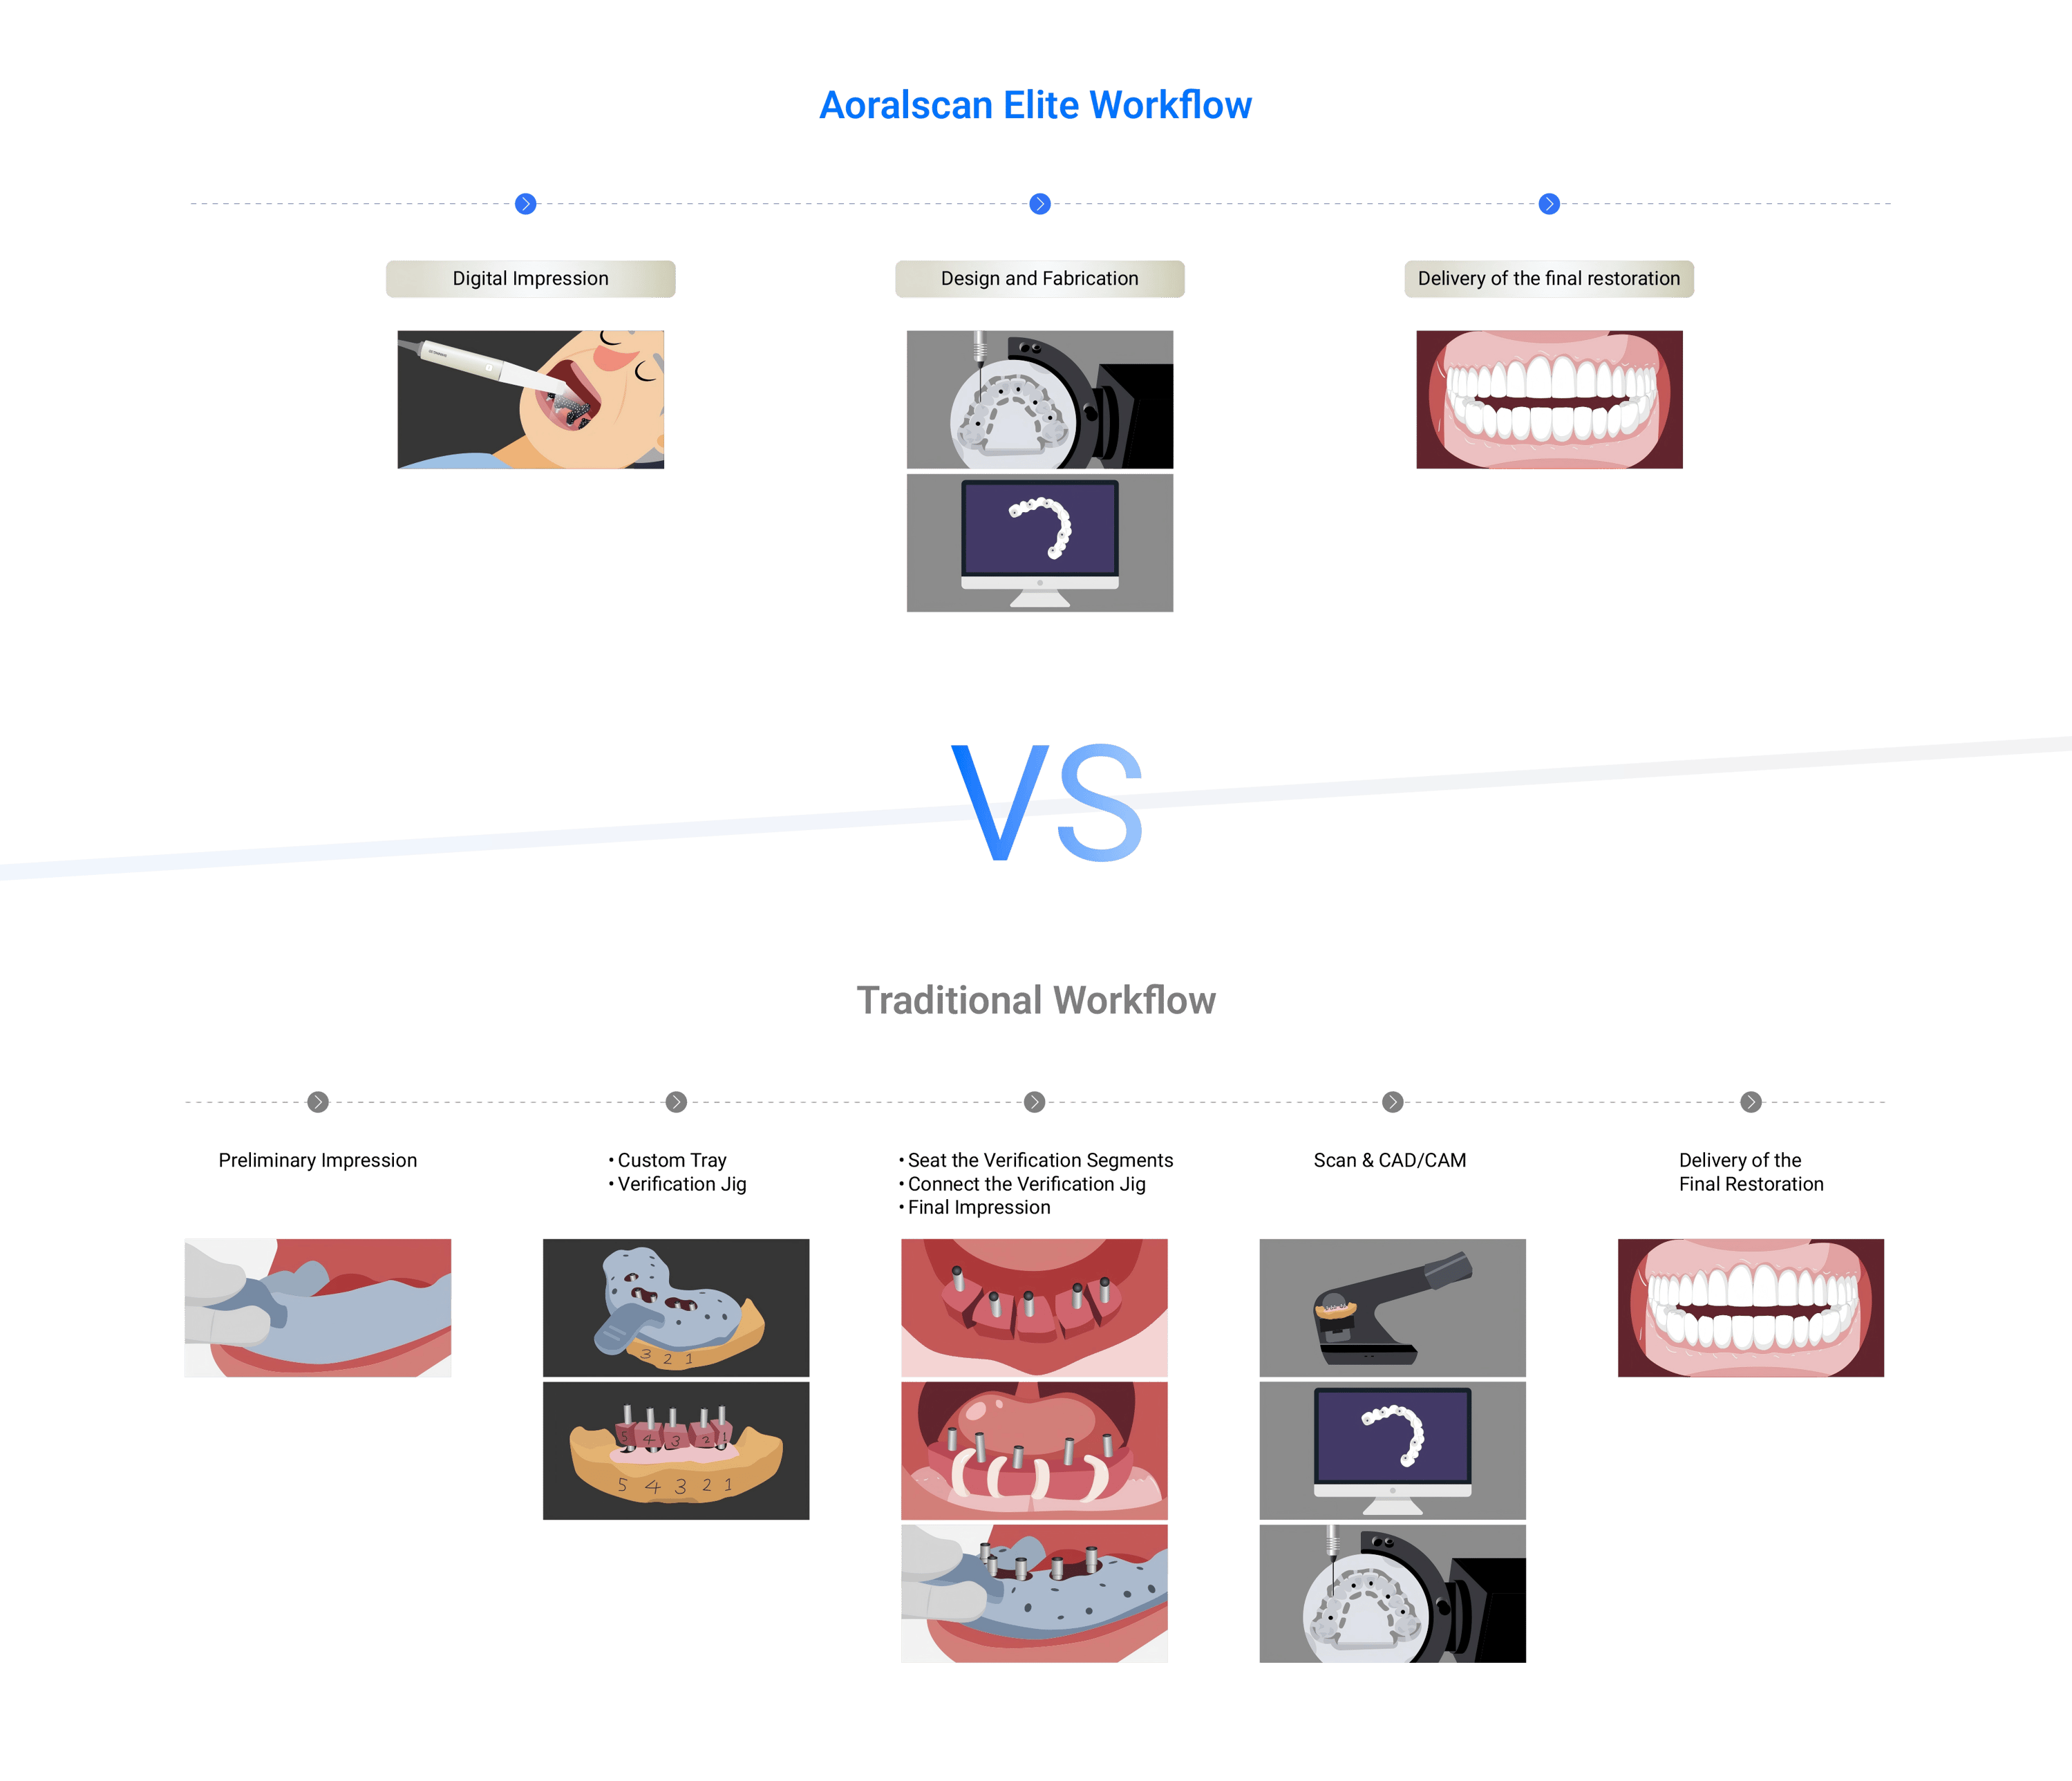
Intraoral scanners remain efficient for single-tooth or short-span work and where soft-tissue detail matters most. CBCT provides bone and implant axis data but lacks the surface resolution of photogrammetry. For full-arch edentulous cases with multiple implants, photogrammetry scales better for positional accuracy; for isolated implants or when definitive bone assessment is primary, pair or substitute with the other modalities.
Closing synthesis: solving the problem reliably
Address the root causes—marker strategy, immobilization, calibration, and verification—rather than chasing marginal software tweaks. A disciplined capture protocol and consistent verification reduce remakes and shorten chair time; manufacturers that integrate calibrated capture hardware with validated workflows can close the loop between clinic and lab. Practical teams find that calibrated systems from providers such as SHINING 3D DENTAL support reproducible outcomes by aligning capture accuracy with prosthetic verification steps.